
 Latest images
Milk juggy light box
2 posters
Page 1 of 1

Milk juggy light box
![]() Swags Wed May 25, 2011 2:24 pm
Swags Wed May 25, 2011 2:24 pm
so I got this from my friend who whent to photography school for
like three years.
I was talking about how to get better photos of my figs. I told her
I had done several different hand made light boxes and different things.
Then she ask me if I had used a milk jug...?
And then she told me how to do it.
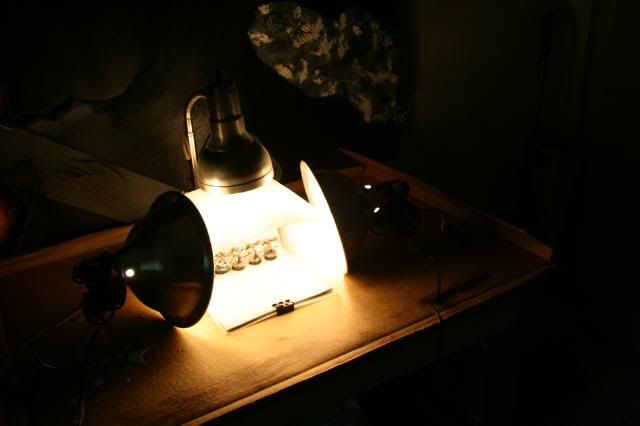
I took a empty milk jug and cut the top off.
then cut a strip of card board and a strip of material for a background.

Then I used some tape to fix the material to the card board and bent it
into a "L" shape.
Next placing it in the carton, this makes a floor and back
While leaving the sides and top to collect light.

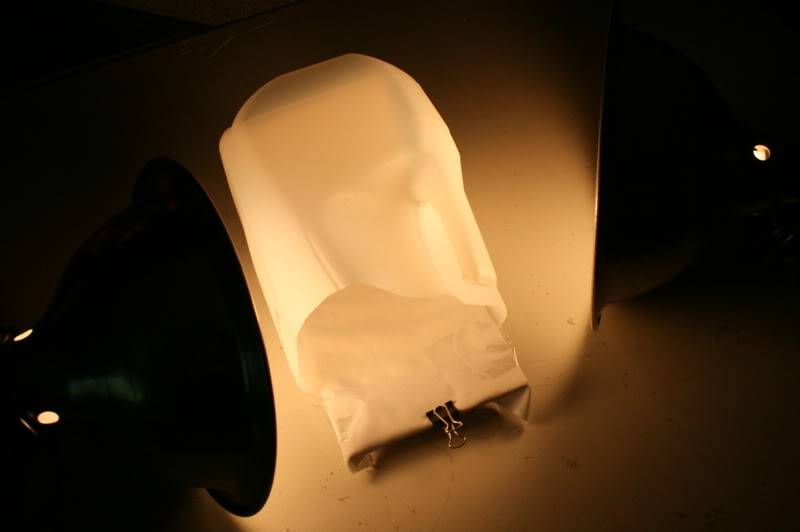
Now all I had to do was put a fig in and adjust the lights and my settings.

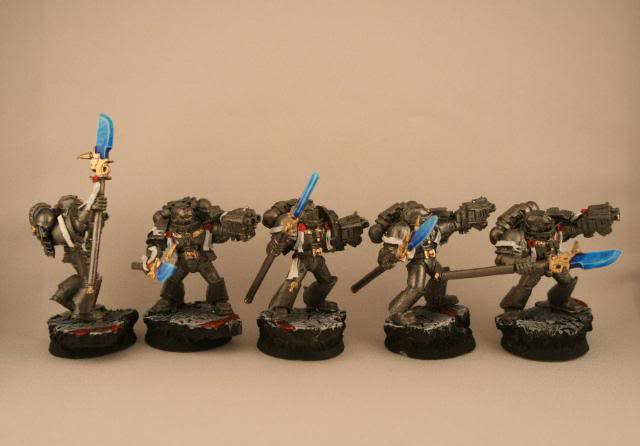
Here is one of the shots I got.
The entire thing cost next to nothing and produced better results than
any light box I have built in the past.
like three years.
I was talking about how to get better photos of my figs. I told her
I had done several different hand made light boxes and different things.
Then she ask me if I had used a milk jug...?
And then she told me how to do it.
I took a empty milk jug and cut the top off.
then cut a strip of card board and a strip of material for a background.
Then I used some tape to fix the material to the card board and bent it
into a "L" shape.
Next placing it in the carton, this makes a floor and back
While leaving the sides and top to collect light.
Now all I had to do was put a fig in and adjust the lights and my settings.
Here is one of the shots I got.
The entire thing cost next to nothing and produced better results than
any light box I have built in the past.

Swags- Posts : 58
Join date : 2011-05-02
Re: Milk juggy light box
![]() Swags Wed May 25, 2011 2:40 pm
Swags Wed May 25, 2011 2:40 pm
Dang thing keeps cutting off the right side of my pics!!!
Swags- Posts : 58
Join date : 2011-05-02
Re: Milk juggy light box
![]() styx Wed May 25, 2011 8:52 pm
styx Wed May 25, 2011 8:52 pm
That is a cool idea for single model shots, squads could get trickey though.
styx- Posts : 36
Join date : 2011-05-02 -

Re: Milk juggy light box
![]() Swags Thu May 26, 2011 9:16 pm
Swags Thu May 26, 2011 9:16 pm
Part 2
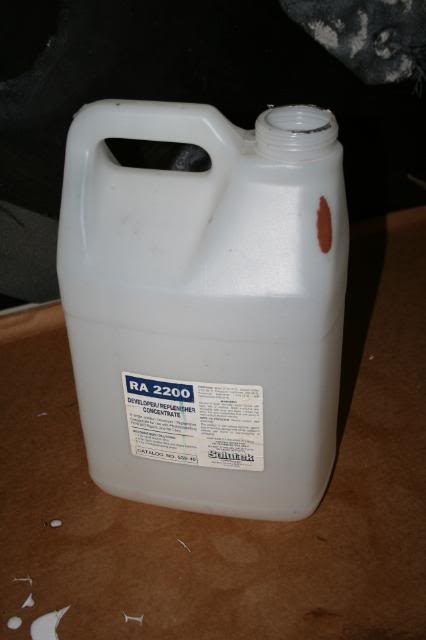
So I was not content with my new home made light box and while at work today
I found a new container. It was more like a rectangle, made of the same
white/clear plastic like a milk jug and a much better size.
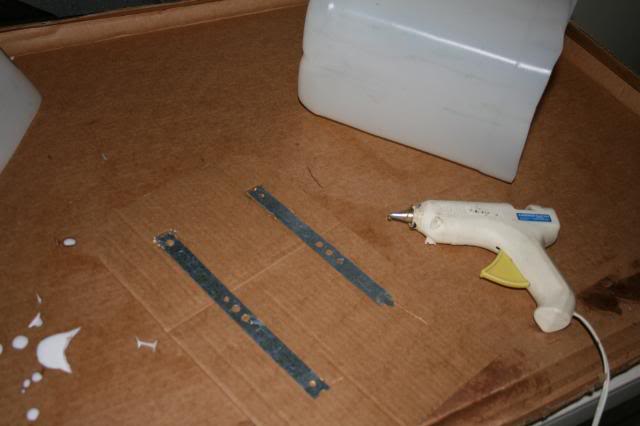
Again I cut the top off, and trimmed a piece of card board.
Note the fold is allready in place.
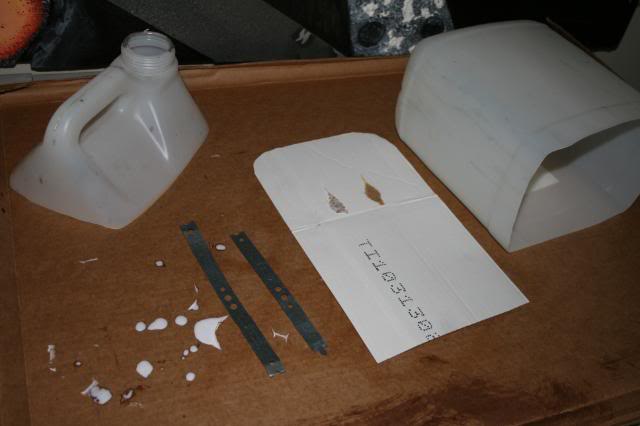
Next I took some metal strap and used the glue gun to stick them to
the back of the card board.
Continuing with the hot glue gun I attached the fabric to the back wall
section of the board. Then bent it into a "L" shape.
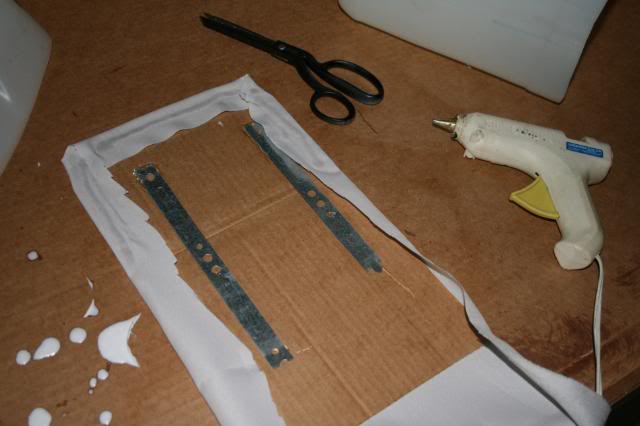
After that I tacked the floor section down on the back side making sure
that it was nice and tight.

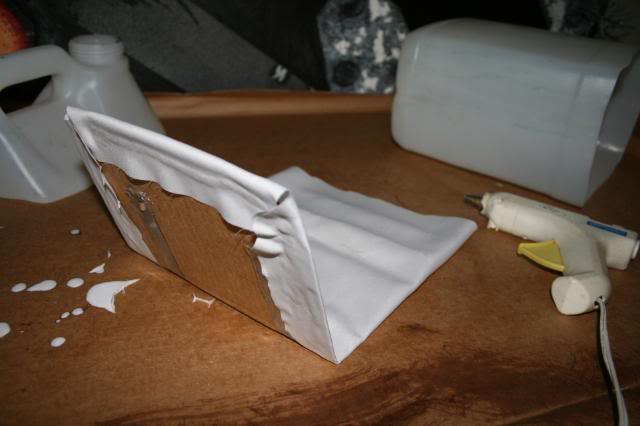
Now I just slid it into the light box and used a clip to hold it in place.

As you can see this one will hold larger models and its easy to set them
up and position them.
So I set up the 2 lights with just plain 60 watt bulbs and positioned them
slightly to the front.

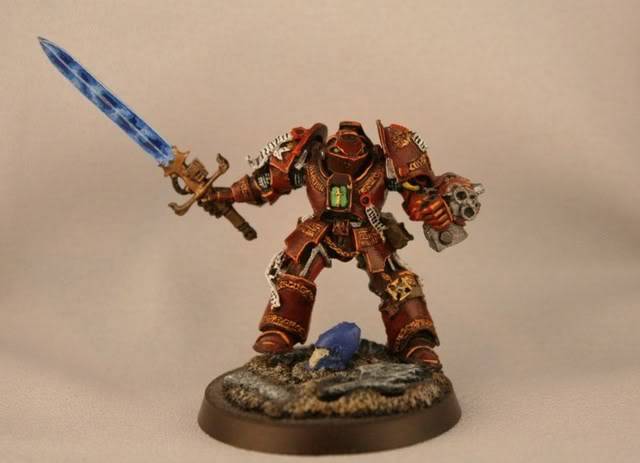
Here is a pic I got of my GK Dread.
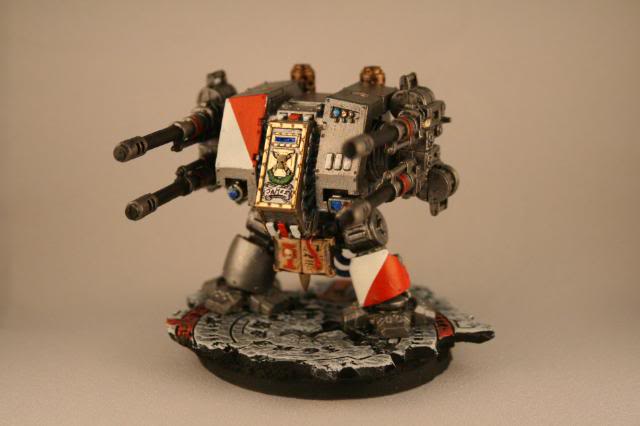
One last thing I did was to add one more light over the top.
And one more shot with the extra light.
This was easy, quick and I can keep it in storage as is so I can shoot pics of
models on the fly. Hope this might help your future projects look even better.
Enjoy.
Swags- Posts : 58
Join date : 2011-05-02
Page 1 of 1
Permissions in this forum:
You cannot reply to topics in this forum|
|
|